I know, I know. "Morning cookie" seems like an oxymoron, or at least a poor choice, but I promise it isn't. This recipe was born out of my need for a healthy, portable, no-refrigeration-needed snack that I could have in the middle of the morning to tide me over until lunch. I had been buying granola bars for years to help with this issue, until I got fed up with the high prices and high sugar (this recipe has none!) and decided to just make them myself.

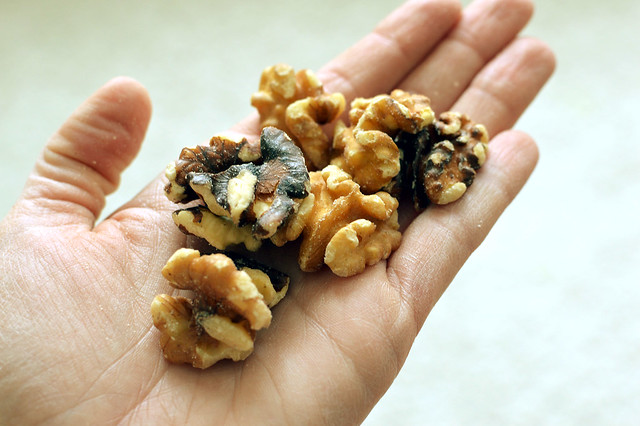
Another fantastic thing about these cookies is that they help me use up the awkward few tablespoons of mix-ins that are always left over from other recipes. 1/4 cup of nuts from this, a few tablespoons of raisins from that, the bottom of a bag from that other thing - you know how it goes! While you can absolutely use specific ingredients for mix-ins, I like to just use whatever mix of dried fruit, nuts, and chips I have on hand.
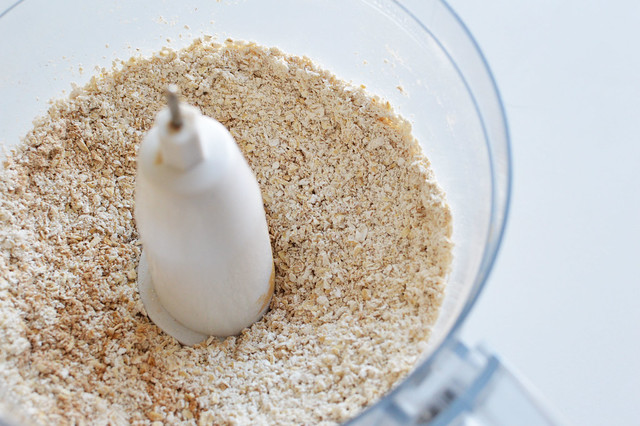
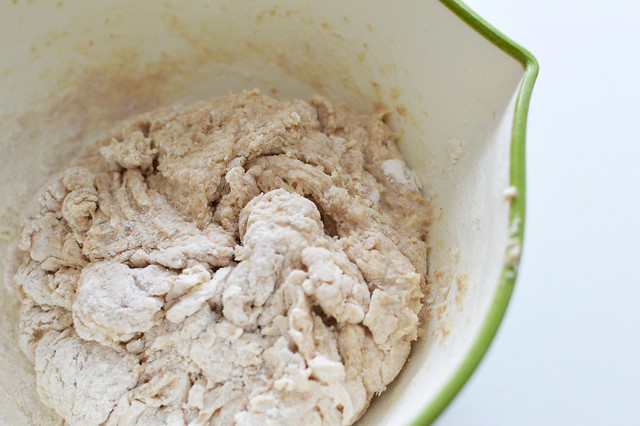
As if this recipe needed a third bonus, it's all made in the food processor. I will always be appreciative of a single dirty bowl. If you don't have any quick oats on hand, you can put old fashioned in the processor first and give it a few good pulses. Ta da! The quick oats have been made.
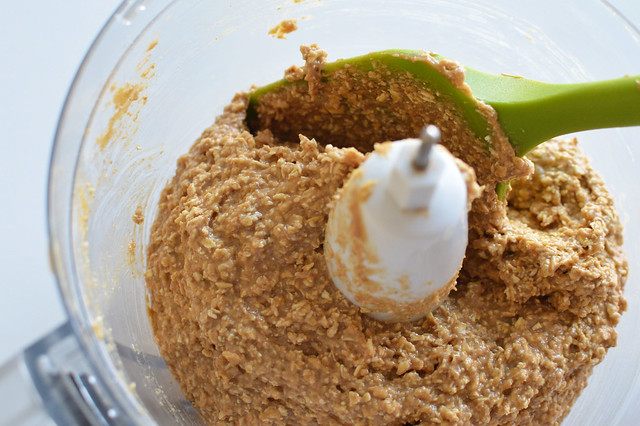
After adding in a banana, nut butter (I use peanut, but you can use almost anything!), applesauce, maple syrup, and a few spices, you have a fantastic cookie base that is delicious on its own. But, we all know we're not going to stop there. Time to get creative with the mix-ins!
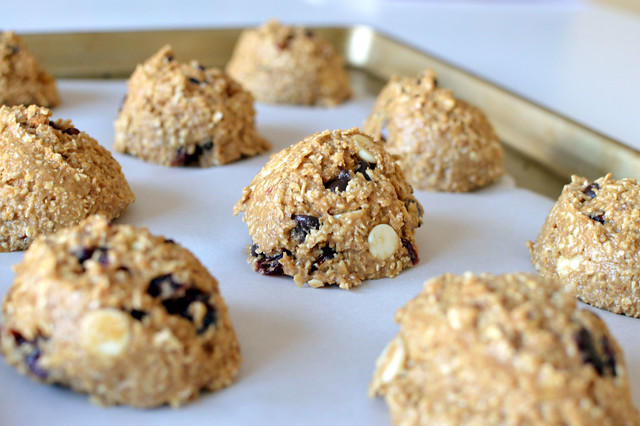
I use my largest cookie scoop, which holds a scant 1/4 cup, for above-average size cookies. My batches usually yield around 9, more than enough for the week, but you can feel free to make yours bigger or smaller - just remember to adjust your baking time!

These guys don't like to spread on their own, so I like to aid the process by pressing them down with the bottom of a drinking glass about halfway through the baking process. It's also important to let them cool completely before trying to remove them from the pan, since they're a little more baked-oatmeal and a little less regular-cookie when hot. Don't worry, after 10-15 minutes they are ready to be bagged or snacked on for the week ahead!
Morning Cookies (Vegan, Gluten Free, No Refined Sugar)
Adapted from Joy the Baker
Yields 9
Ingredients
2 cups quick oats
1/2 teaspoon salt
1/2 teaspoon cinnamon
1/2 teaspoon nutmeg
3/4 cup peanut butter (or the nut butter of your choice)
1/4 cup maple syrup (I used sugar-free, but regular or honey will also work)
1/2 cup mashed banana
1/2 tsp vanilla
1-1 1/2 cups mix-ins
Directions
1. Preheat oven to 325 degrees.
2. Combine all ingredients except for mix-ins in food processor until combined, about 2-3 minutes, scraping the sides of the bowl every minute. (Note: If using old fashioned oats, add them first, pulse 5-6 times to break them down, then all remaining ingredients).
3. Stir in mix-ins by hand until well combined.
4. Drop 1/4 inch scoops onto a parchment-lined baking sheet.
5. Bake for 15-16 minutes, edges will be golden brown, pressing cookies with a glass about halfway through. Let cool.
Nutrition:
Calories: 265, Fat: 13g, Carbs: 32g, Fiber: 4.31g, Sugars: 13.8g, Protein: 8.3g
Happy baking!
Amanda