Sunday, May 22, 2011

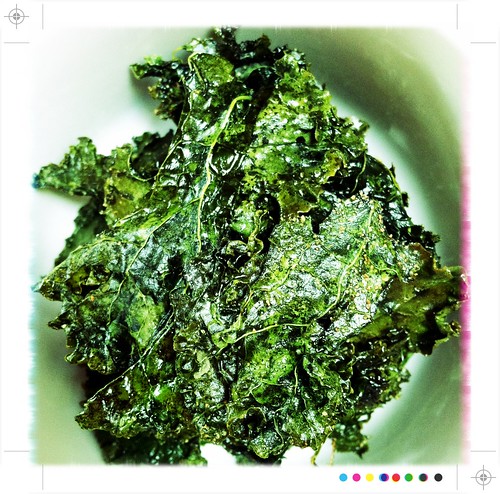
baked kale chips


i'm officially moved! well, for right now any way. we don't get to move in to our new apartment until early next month, so for right now we're crashing at my mom's house. she lovingly took both us and our cats in, effectively tripling the number of residents under one roof, but we're going to do our best to make it up to her with dinners out, short vanilla lattes and amazing company.


this isn't a sweet post, but i haven't had the energy to break out my stand mixer and whip something fancy up. instead, i've decided to go healthy, vegan and savory and make some baked kale chips. i know i'm a little late to jump on this super delicious bandwagon, but i snagged a bunch at the store today and decided to whip these up for a snack. 
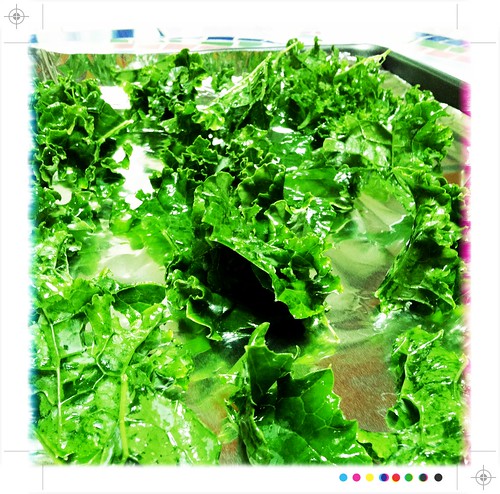

i filled two baking sheets with kale and it was enough snacking material for two people. it may seem like you're making a ton initially, but i promise that when it wilts down you'll be glad you over-did it.
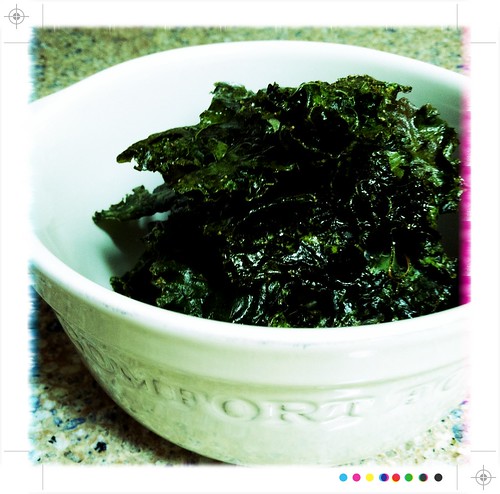

i sprinkled my chips - and yes, they are crispy and savory enough to use that term - with some garlic powder before i popped them in the oven. the beauty of this recipe is that it's totally customizable and you can really make them whatever "flavor" you're craving. my boyfriend suggested that we grab some ranch powder from the store to spice up the next batch. if nothing else, these will be far healthier than any bag of cool ranch doritos. 

baked kale chips

yields two snack-sized servings

3-4 leaves of kale, torn
1 tablespoon olive oil
garlic powder, sea salt, or other spice to taste

1. preheat oven to 300 degrees.

2. wash and tear kale into chip-sized pieces, leaving out center heart.

3. lightly toss kale in olive oil until evenly covered - a little oil goes a long way!

4. line two baking sheets with foil (makes for easy clean-up!) and distribute kale evenly along sheet. i place mine side-by-side with a little breathing room between them. you want to give them enough space to flatten down without touching each others - this makes for extra crispiness! 

5. bake kale in oven for 20-25 minutes or until chips lift easily off sheet. if you're doing two racks, make sure to check the lower sheet earlier (it will bake quicker!) and give them top one a little more time. my lower sheet was done at around 17 minutes, while my upper needed 21 or 22. 

6. once baked, carefully peel chips off foil and place in bowl. eat while warm!

nutritional information:

(note: this info is for 2 cups of raw kale & 1/2 tablespoon of olive oil)

calories: 132, fat: 3.9g, cholesterol: 0.0 mg, sodium: 146 mg, potassium: 146.2 mg, carbs: 7.3 g, fiber: 2.6g, protein: 2.5g. 


thanks for reading & happy baking!

amanda

ps: please excuse my less-than-gorgeous photos. i'm hoping to get my camera unpacked and my mini-studio set up sooner rather than later. figured some photographic documentation was better than nothing!

pps: thank you to all those who have sent me lovely little messages or comments of encouragement. your words keep me excited about baking!

Sunday, May 8, 2011

springtime birthday cupcakes


i mentioned in my last post that i was doing all the baking for a first birthday - here are the promised results! 

i ended up with four flavors: vanilla cake with vanilla bean buttercream, vanilla cake with strawberry buttercream, lemon cake filled with lemon curd with lemon butter cream, and lemon cake with strawberry buttercream. 

all the flavors and colors fit in perfectly with the spring-time garden theme of the party and i received a very adorable photo of the birthday girl eating cookies & cupcakes, so i'd say it was a success!

hope everyone is enjoying the warming weather!

amanda

Friday, May 6, 2011

marbled sugar cookies


as i type, right around 63% of my life is in boxes. the remaining 37% is mostly a combination of shoes and baking supplies. if i were a math person i would come up with some kind of equation or pie chart to determine the length of time something spends in a box (let's say y) as directly correlated to my need to use it on a daily basis (should this be x? z? something squared?).

can you tell i was more of an arts & humanities girl?

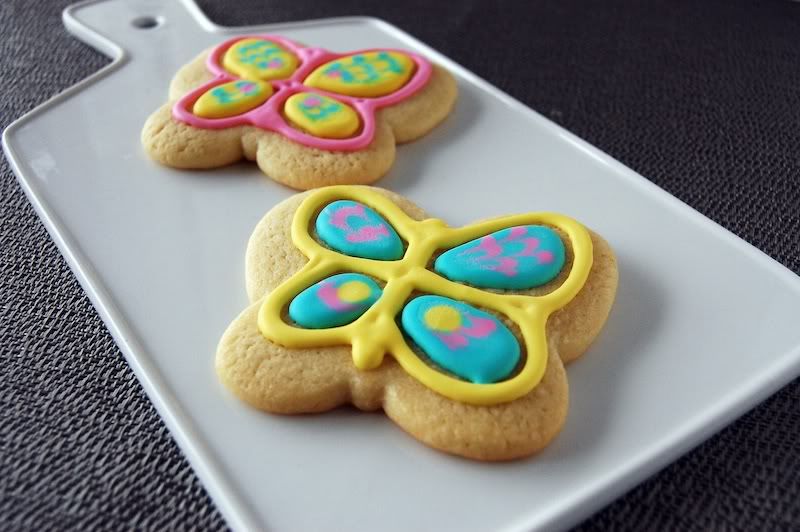
in an attempt to use up some of the flour and sugar i have before we move next week, i decided to make a batch of marbled cookies. my co-worker has the most adorable baby on planet earth (seriously, i'm not even a baby person!) who is turning one on saturday and i was recruited to make the desserts for the party.


the party is spring garden themed so i ended up making a batch of butterflies cookies and a batch of "a" and "n" cookies (featured above!), which conveniently spell out the baby's name. i'm honestly not sure if i would have the patience to spell out a name with more than two letters, but you could always go the initials route!

i apologize in advance for there not being any new recipes until next week when i finally get to half-unpack. i may try to coerce my very talented sister to do another guest post since her last one was so popular!

as always, thank you for reading & happy baking!


amanda 

Friday, April 29, 2011

guilt free lava cake for one


man, i always forget what a pain the moving process is. between spending twenty hours in the car last weekend (preliminary apartment hunting) and packing up everything i own (craigslist gets the rest!) i have barely had enough time to sleep, much less blog. 

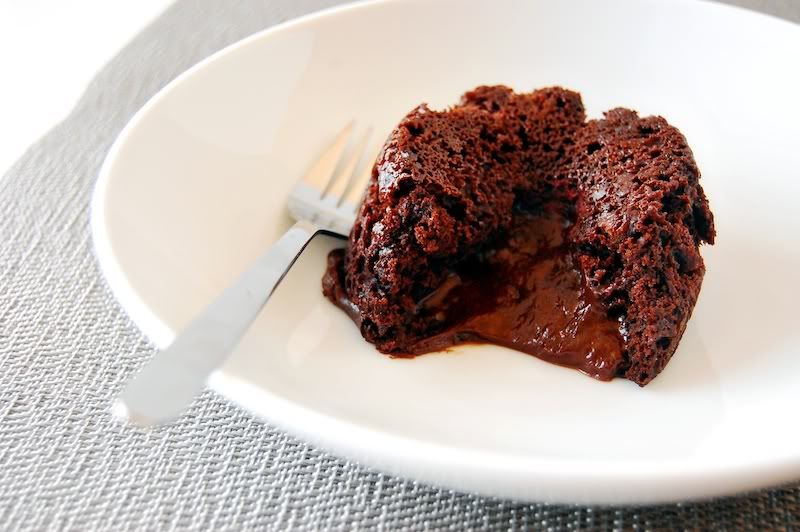
to make up for my lengthly absence i come bearing lava cake. that's right, chocolate-y goodness that's a brownie on the outside and warm pudding on the inside. i don't even like pudding and i've already made this cake twice this week - it's that good. 

on top of all that, this is also a recipe for one - perfect for when the mood strikes you, but won't leave you with a baker's dozen on the kitchen counter tempting you.


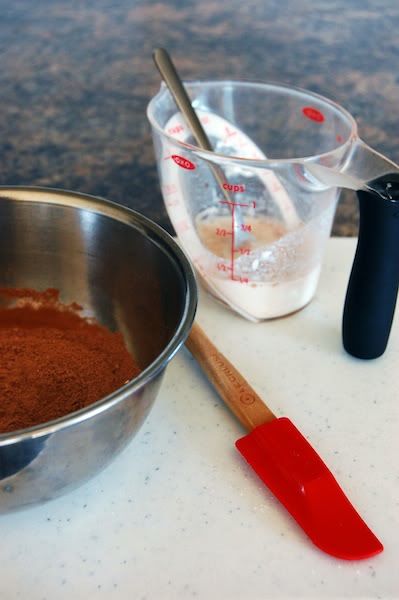
this is a shockingly simple recipe for how elaborate the final product seems to be. you just need one small bowl for dry ingredients and another vessel of some kind for wet. 


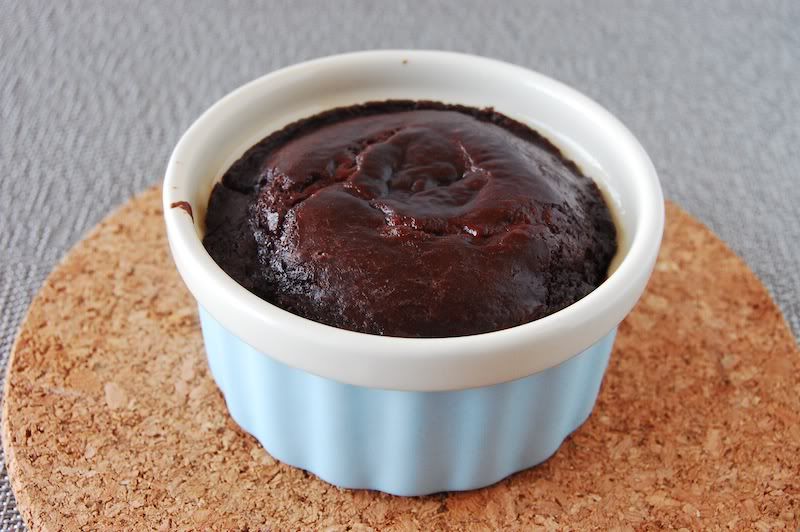
i baked my cake in a 7 ounce ramekin, which is a fancy word for a small heat proof bowl. for as much as i use the ramekins i have - seriously, ice cream, microwaving anything and everything, sauce-making, snack-holding, etc. - they do not get nearly enough praise in my kitchen. if you don't have a set of these i highly recommend picking up one or fifteen. you can thank me later!


when you take your cake out of the oven you want the sides and top to be fairly set, but definitely not cooked through. i found that to take around 15 minutes in my oven, but in the name of honesty i will say the first time i made this it i left it in far too long (i got a brownie) and the second far too short (pudding soup). not that i minded eating either, but the goal is an even split between the two extremes.


though i know from personal experience how tempting it is to dig right into your lava cake while it's in a piping hot ramekin, it isn't a good idea. seriously, i think i no longer have a fingerprint on my ring finger. what you want to do is grab a larger plate or dish and invert your ramekin onto that. you will look and feel like a total professional, promise.


now, i give you permission to sit down with your very own lava cake and enjoy every last bite. and, in case you forgot, the beauty of a cake for one is that no one will be around to judge you as you lick the plate.


guilt free lava cake for one


yields 1 cake

ingredients:

2 1/2 tablespoons all-purpose flour
1 1/2 tablespoons granulated sugar
1 heaping tablespoon dutch-processed cocoa
1/8 teaspoon baking soda
pinch of salt
3 tablespoons skim milk
1 tablespoon non-fat yogurt
1/4 teaspoon vanilla

directions:

1. preheat oven to 350 degrees.

2. whisk together flour, sugar, cocoa, baking soda, and salt in a small bowl.

3. mix milk, yogurt, and vanilla in separate bowl.

4. pour wet ingredients into bowl of dry ingredients and stir until combined.

5. grease a 7 ounce ramekin with cooking spray. pour batter into ramekin and bake for 12-16 minutes or until edges and top of cake are set.

6. let cake cool for 1 minute then invert onto larger plate or bowl. enjoy!


nutritional information:


calories: 171, fat: 1.24g, sodium: 185mg, carbs: 39g, fiber: 4.5g, sugars: 19g, protein: 5.72g.


thanks for reading & happy baking!


amanda

Sunday, April 17, 2011

vegan banana flax walnut muffins


let's say that mother nature won't let you pack up your winter clothes and all you want is consistent weather. or let's say that your crest white strips are making your teeth sensitive (and, to add insult to injury, your boyfriend says its because you've been watching too much real housewives). let's say you're definitely moving in a month and are freaking out about getting everything packed. or maybe you just finished the "intermediate" running level on your favorite running app and now you're afraid to move up to "advanced". 

let's say you feel crazy because of all the changes, big and small, and just want a simple muffin to make you feel better. and, let's say, banana bread always reminds you of your mom. auto-comfort. 

and, well, maybe those are less hypothetical than i made them out to be. 

the biggest one being that we are officially packing up and moving 500 miles to washington dc in a few weeks. needless to say, i'm a little stressed out about the whole thing. this might translate into baking-overload, or into having very little time to whip anything up - we'll see! just know that if it's the latter than i haven't forgotten about you.


now that that's out of the way, let's talk muffins.

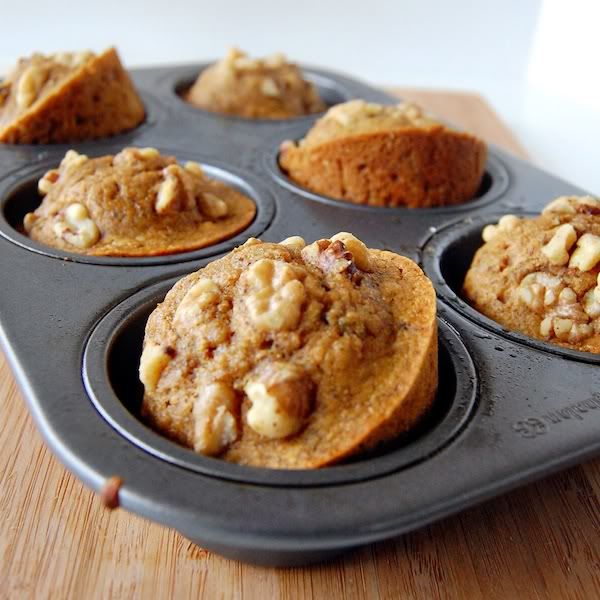
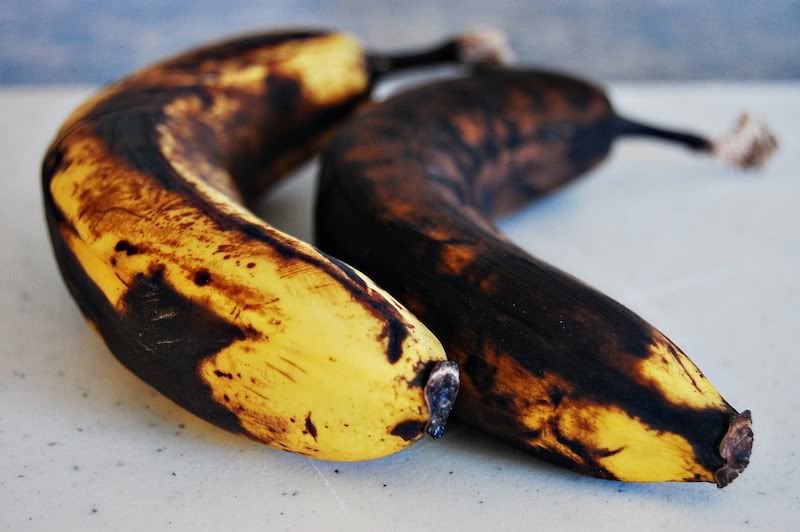
i would be lying if i said that sometimes i didn't let bananas overripe on purpose, just so i could make banana bread. these were getting so bad you could smell them from the hallway, so last night i decided to turn the recipe i used a few days ago into muffins to see if it translated. lucky for me, it did!


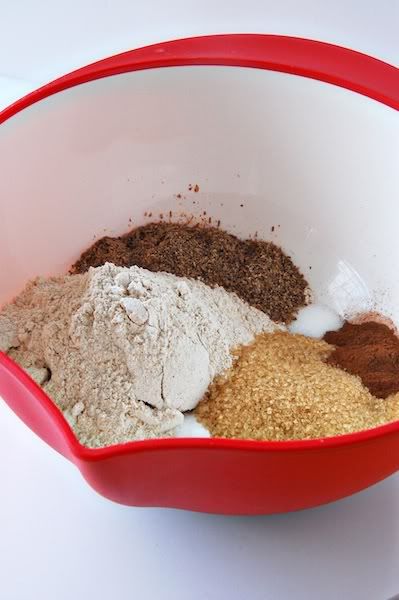
i beefed things up nutritionally by using whole wheat flour, unrefined sugar, and flax meal for extra oomph. everyone at work has been trying to be more conscientious about what they are eating, so i want to bring them something a little healthier than my normal fare. 


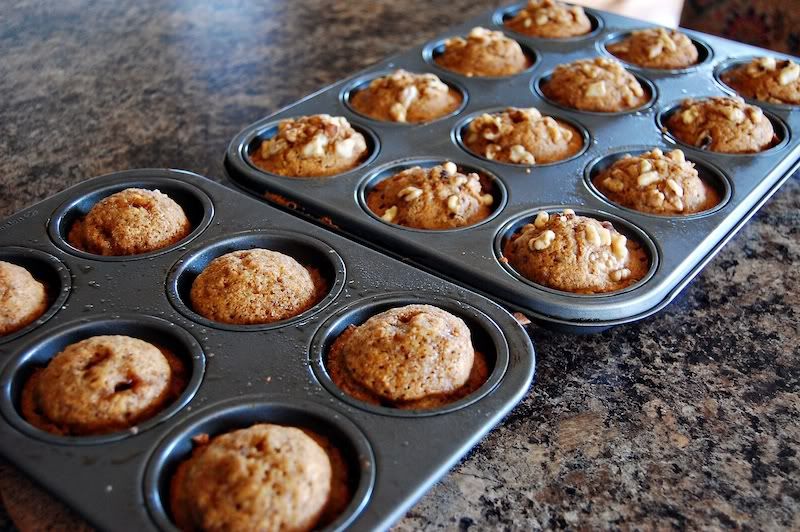
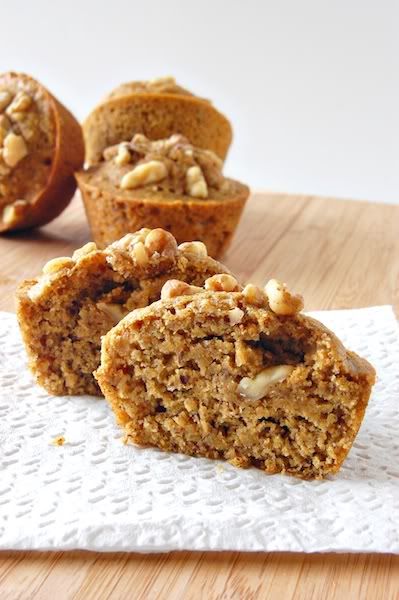
i ended up making a dozen with walnuts and six without, just incase anyone wasn't feeling nutty (though i sure will be) and/or there was a nut allergy issues. feel free to substitute almost anything in this recipe for another comprable ingredient. how about cranberries and almonds? the muffin is your oyster, get creative!


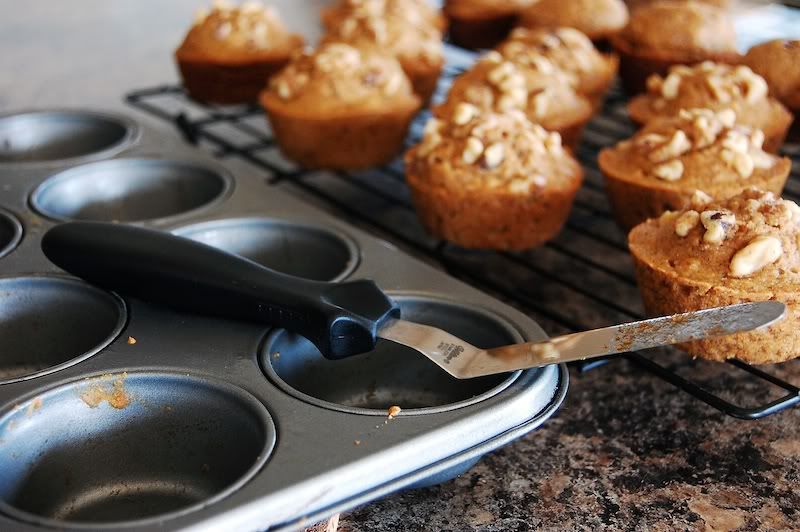
i wanted to pay a quick compliment to my offset spatula, one of my all-time favorite and all-time used baking supplies. i use it to frost cakes, wedge muffins out of their tins, smooth cream onto whoopie pies, scrape peanut butter from the bottom of the jar when i'm having a late-night craving, and..well, you get it. 


i had almost three of these for breakfast this morning (note: does not include the batter i shamelessly licked from the inside of the bowl during my "prewash" cycle of dish washing). they're that good. 


vegan banana flax walnut muffins

yields 18

2 1/2 cups whole wheat flour
1/2 cup raw sugar
3 tablespoons flax meal
1 1/2 teaspoons baking soda
1 1/2 teaspoons cinnamon
3/4 teaspoon salt
2 overripe bananas, mashed
1 1/2 tablespoon vegetable oil
1 1/2 teaspoon apple cider vinegar
1 1/4 cup water
1 1/2 tablespoons maple syrup
1/2 cup walnuts, chopped


1. preheat over to 350 degrees and grease muffin tins.

2. in a large bowl whisk together flour, sugar, baking soda, cinnamon, flax meal, and salt until well combined. add mashed bananas and continue to mix until mostly incorporated. (note: it will be lumpy-looking, but i use two forks and "cut" the bananas into the mix like i would butter in a biscuit recipe!)

3. add maple syrup and water and stir until mostly dissolved.

4. make two wells in the bowl (i used the back of a tablespoon) and pour vinegar in one and oil in the other. pour water mixture over everything and stir until just combined.

5. fill muffin tins until 3/4 full and bake for 18-20 minutes or until a toothpick inserted into the middle comes out clean.


nutritional information:

calories: 125, fat: 3.7g, sodium: 203mg, carbs: 21g, fiber: 3g, sugars 7g, protein: 3.19g. 


as always, thanks for reading & happy baking!

amanda


ps: i JUST noticed that my image bandwidth has been exceeded (what?!) and will need to figure out what to do about that. in the meantime things should be up and running, but if my photos go offline in the near future it's just because i'm doing some upgrades. thanks y'all!


Tuesday, April 12, 2011

low-fat vegan ginger lemon quick bread


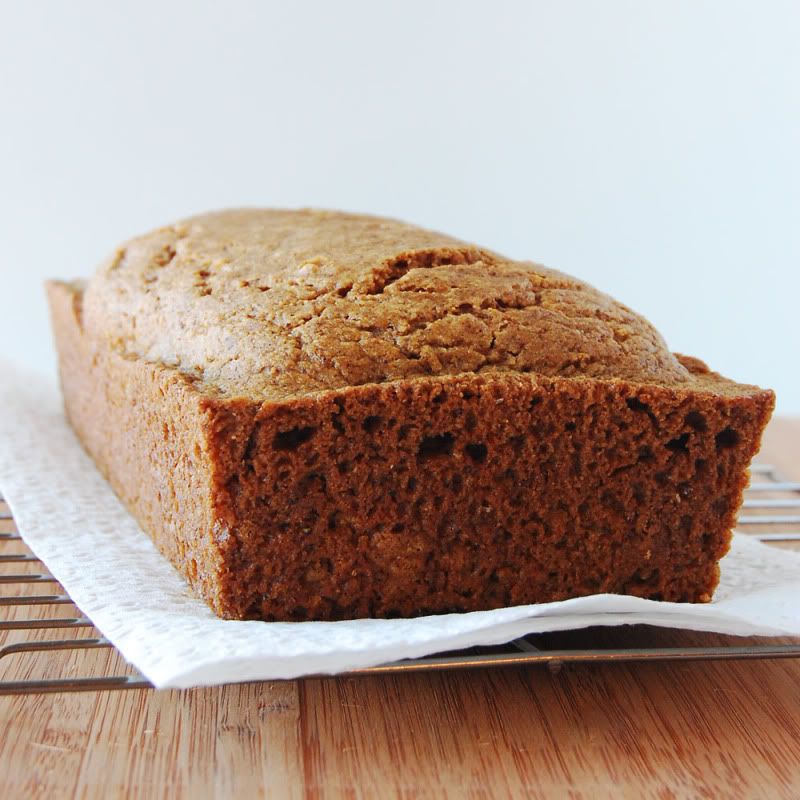
this recipe is amaaazing. yup, it deserved two extra a's. part of why it's so good is that it took me about ten minutes to make and i used a grand total of one bowl. considering how much i detest washing dishes - i always end up looking like i was sitting in the splash section at a dolphin show - this is a very good thing.


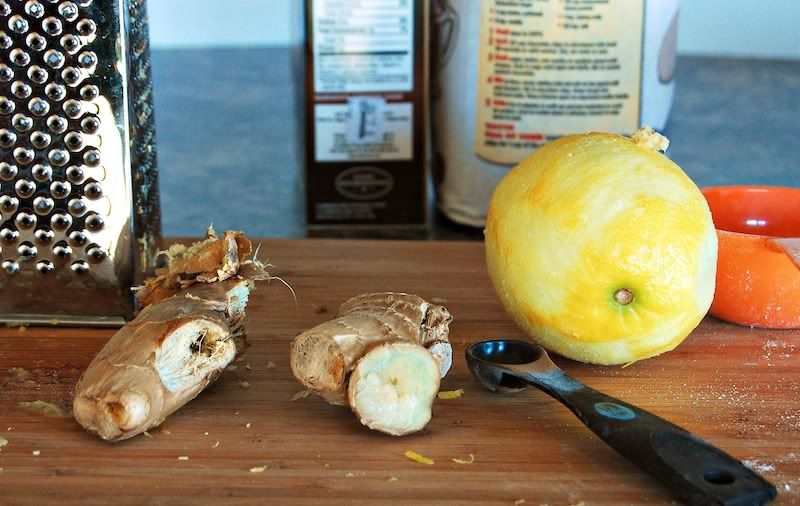
i had some leftover ginger from my sore throat days a few weeks ago when i would drink what seemed like gallons of ginger lemon tea every day, so i decided to pump up this lemon cake with a little heat and spice from the freshly grated ginger. if you don't have any on hand feel free to use pre-grated stuff or omit it all together. no worries!


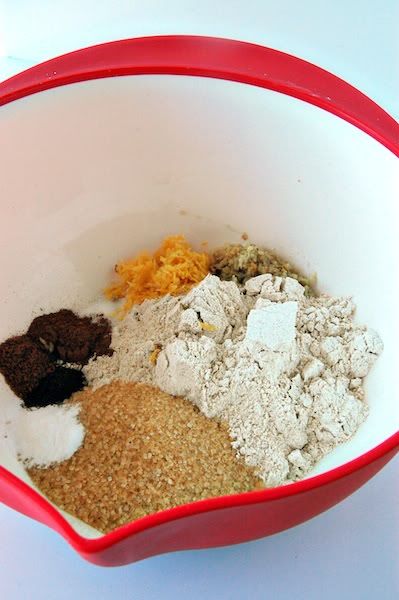
here is the super complicated first step of the recipe. yup, you have to put all the dry ingredients in a one bowl and give them a good mix. that's it!


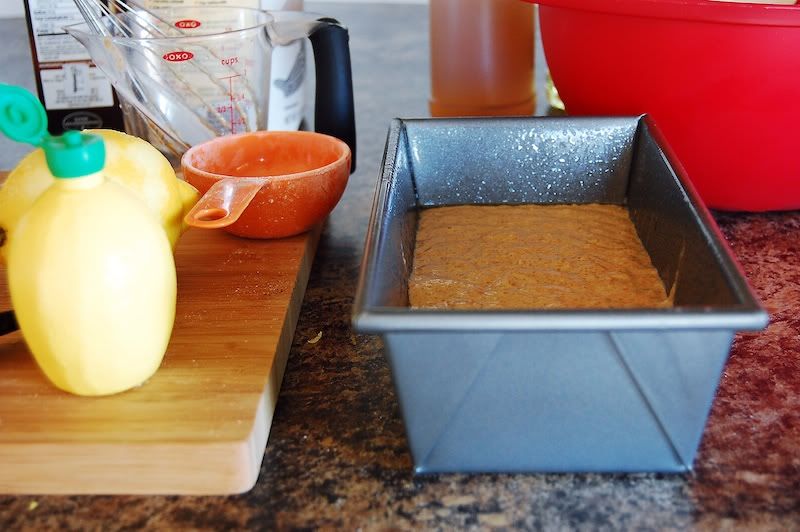
(this is just proof at how messy my workstation can get. seriously, stuff everywhere!)


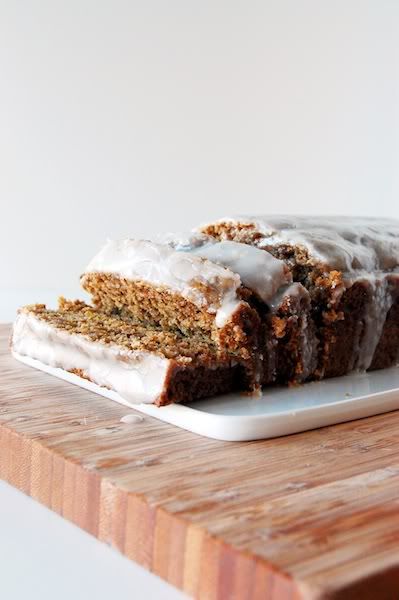
i decided to balance the spicy and sour cake with a lemon-honey glazed that brought everything together. you can feel free to skip this step, but you know i always vote for a glaze if i have the option.

woah! oh geez, i almost forgot to tell you the most magical and unbelievable part of this recipe. get ready. are you ready? okay, just make sure you're sitting down. this entire cake has only one tablespoon of fat. that's right. ONE. did i blow your mind or what? this means that each serving has only one gram of fat. totally insane.


low-fat vegan ginger lemon quick bread


adapted from budget bytes
yields 12 slices

for the cake:

1 1/2 cups whole wheat flour
1/2 cup raw sugar
1 tsp baking soda
1 tsp cinnamon
1/2 tsp nutmeg
1/2 tsp cloves
1/2 tsp salt
1-2 tbsp freshly grated ginger
2 medium lemons, zested and juiced
1 tbsp vegetable oil
1 tsp apple cider vinegar
1 cup water
3/4 cup powdered sugar

1. preheat your oven to 350 degrees.

2. in a large bowl whisk together flour, sugar, baking soda, cinnamon, nutmeg, salt, cloves, lemon zest and ginger.

3. make two wells in the dry ingredients and pour the vinegar in one and the oil in the other. pour water over everything and stir until everything is just combined.

4. pour batter into a greased loaf pan. bake for 30-35 minutes or until a toothpick inserted in the center comes out clean.

5. while cake is cooling combine powdered sugar and lemon juice until it reaches your desired consistency. wait until the cake is completely cooled to pour glaze or risk it melting off!


nutritional information:


calories: 112, fat: 1.3g, cholesterol: 0mg, sodium: 204mg, carbs: 24g, fiber: 2.11g, sugars: 12g, protein: 2.16g. 


thanks for reading & happy baking!


amanda

Sunday, April 10, 2011

homemade oatmeal creme pie!


disclaimer: these are not healthy. that being said, they are so addictive that i gave myself a stomach ache before the gooey filling had even been made. 

my second admission is that i've never actually had a real-deal little debbie oatmeal creme pie. some people might consider this good parenting and others might consider it child neglect, but my snack of choice as a child was a little thing called a pastelito de guayaba (sweet puff pastry filled with guava, or quince). but, i've decided to give this little debbie a chance considering how many people confused my zebra cake with one of deb's concoctions. since the most requested snack was her oatmeal creme pie i decided to whip up a batch! 


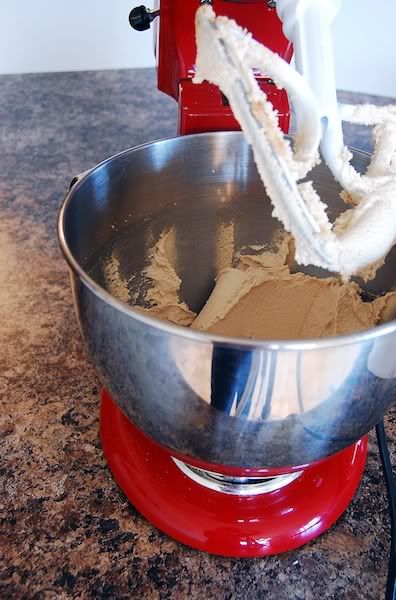
first, like with any good recipe, you start by creaming a ton of butter and sugar. granted, i got five dozen cookies out of this recipe, so feel free to cut the recipe in half.


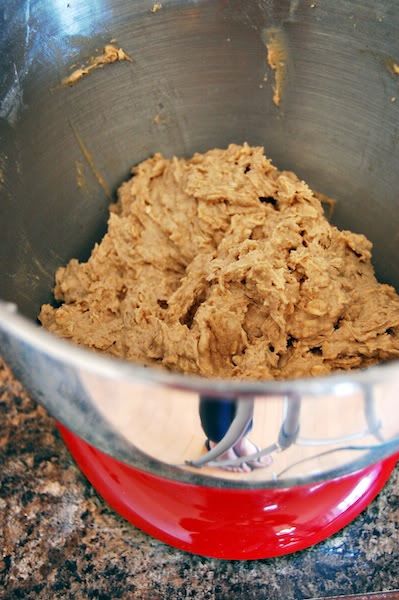
the batter is this gorgeous peanut-buttery color and makes delicious oatmeal cookies on its own. i honestly couldn't keep my fingers out of this batter and am guessing 3-4 cookies worth of dough fell victim to my cravings. 

(side note: i didn't realize you could see my rolled jeans & flip flops reflected in the bowl! it was almost 80 degrees in michigan today and i broke out my favorite shoes for the event.)


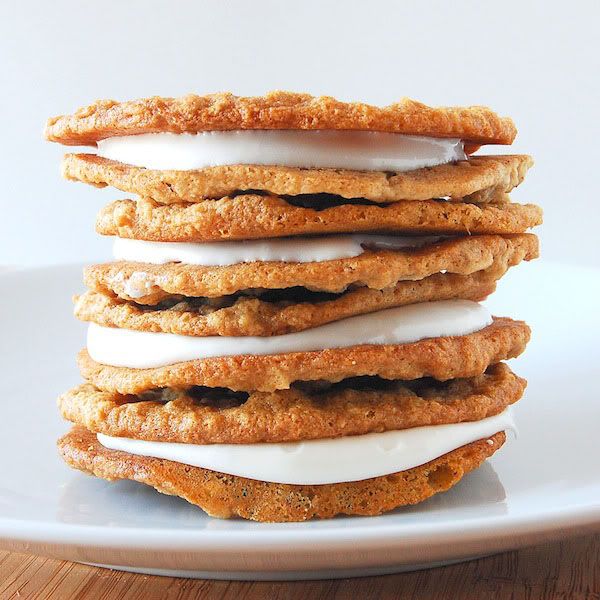
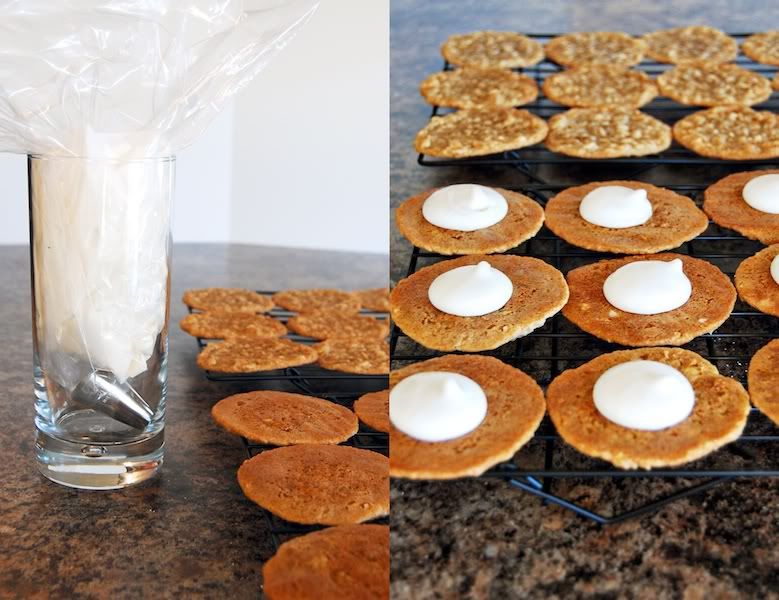
to pipe my delicious filling between my cookies i used a large sized round piping tip, but you could just as easily use a knife and just spread it on. the icing might seem a little unruly as you're making your sandwiches, but don't worry! it does set after about an hour, which then makes it super easy to put in baggies or stack for portability. 


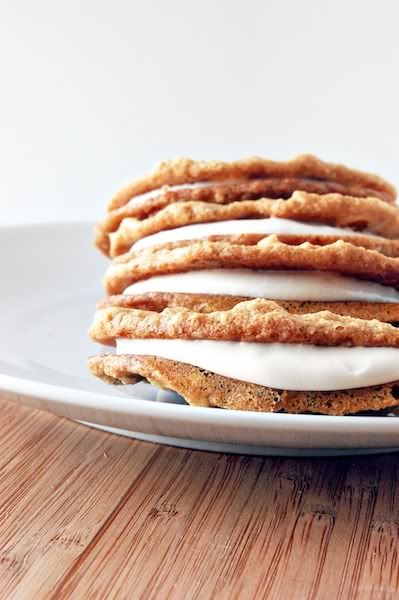
not to brag, but i think i gave debbie a run for her money with these babies. the cookies themselves are hearty, delicious, and soft without falling apart. the addition of the marshmallow-vanilla filling takes it to a whole new level of fantastic. though making these is not a particularly fast process, i think it's totally worth it to relive your childhood and bring on the nostalgia.


homemade oatmeal creme pie

yields 30 sandwiches (plus 8-10 leftover cookies!)
adapted from beantown baker

for the cookies:

3/4 cup unsalted butter, softened
2 cups packed light brown sugar
2 eggs
1/2 teaspoon salt
2 cups flour (i used 1 cup all-purpose & 1 cup whole wheat pastry)
1 teaspoon baking powder
1 teaspoon cinnamon
2 cups quick oats
2 teaspoons baking soda
3 tablespoons boiling water

for the filling:

1 stick unsalted butter
1 jar marshmallow fluff
1 teaspoon vanilla
1 1/4 cup confectioner's sugar


1. cream butter and sugar in the bowl of a stand mixer. once light and fluffy, add egg and mix until combined.

2. in a separate bowl, whisk together salt, flour, and baking power. add to creamed mixture. add cinnamon and oats and mix well.

3. in a small dish, add baking soda to boiling water and stir mixture into batter. mix well.

4. chill dough for 1-2 hours in fridge to let cool. 

5. preheat oven to 375 degrees and lined cookie sheet with parchment. 

6. drop tablespoons of dough onto sheet about two inches apart and bake for 8-9 minutes or until cookies are firm and golden around the edges. let cookies stand on sheet for 5 minutes and then transfer to wire rack.

7. to make filling, whip butter in a stand mixer to soften. add jar of marshmallow and beat until fluffy. add powdered sugar 1/4 cup at a time until combined. add vanilla and combine.

8. spread or pipe filling onto cool cookies and allow to set for 1-2 hours.


nutritional information:

calories: 213, fat: 6.67g, cholesterol: 23mg, sodium: 74mg, carbs: 18g, sugars: 13g, protein: 1.7g.


thanks for reading & happy baking!

amanda