Saturday, January 29, 2011

whole wheat bagels (for under 150 calories!)


i love carbs. i also love breakfast. those who know me know that it is irrelevant what time i actually wake up, breakfast-y things must be my first meal. if they aren't, my whole day is completely thrown. 

when i began to understand nutrition and what i actually should be eating the beautiful, carby, doughy breakfast staple known as the bagel was completely phased out of my life. i could not find a reasonably nutritious bagel anywhere and was resigned to pulling the somewhat depressing scooping-out maneuver whenever i had no choice but to eat one. 

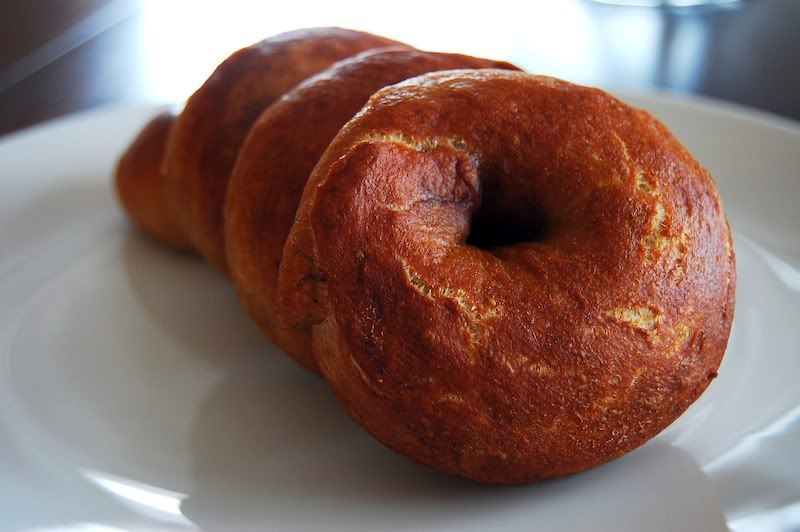
well, my friends, today is one for the history books. i've successfully made delicious and authentic boiled bagels that are less than 150 calories a piece. to give you a comparison, a plain bagel from panera bread has double the calories, fat, cholesterol, with only half the fiber. and that's without cream cheese! how embarrassing.

while interacting with yeast is something i shamefully try to avoid, the idea of being able to make my bagel and eat it too far outweighed my fear. this is a great recipe to try out if you're new to working with yeast, which you always want to mix with warm - not hot! - water to bring it back from the dead (or "activate" it, to be more scientific). i always buy the instant yeast in small packets and keep them in my freezer. 

speaking of freezers, this is also a great recipe to make and then freeze - especially because it makes a baker's dozen. i left a few bagels out for breakfast tomorrow, but cut the rest in half and stuck them in an airtight bag in the freezer. that way, the next time i want a carby treat i can just pull one out and put it in the toaster for around double the time i would a fresh bagel. super easy!


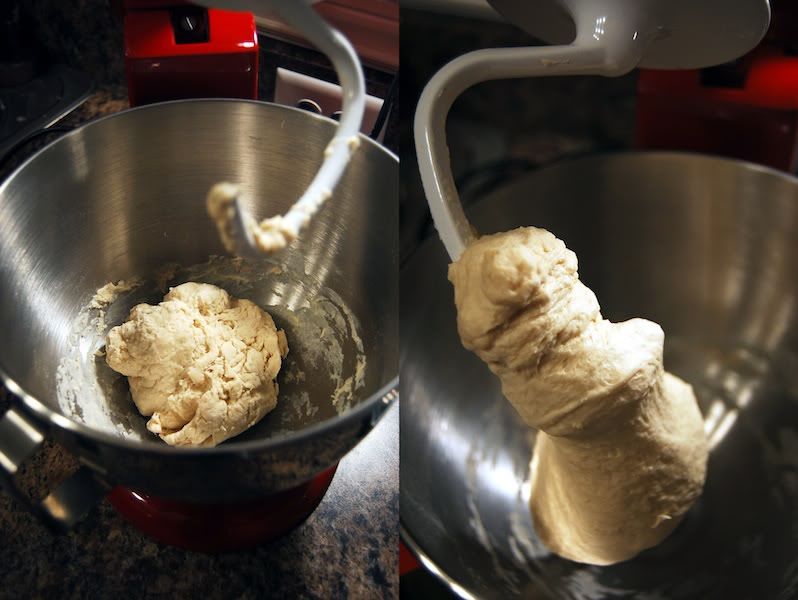
you're going to need a stand mixer and a dough hook for this recipe. you want the dough to end up smooth & not sticky!


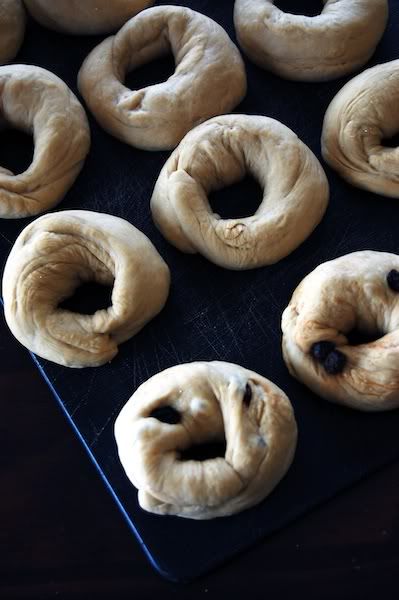
at around 7am i was standing in my kitchen with a ball of dough in front of me when i realized i had absolutely no idea how to form bagels. i know this may seem like an important step in researching a recipe, but i was so excited to make bagels in the first place a lot of my common sense flew out the window. i ended up finding this really helpful tutorial that shows you exactly how it's done, starring a man who i now refer to as my bagel sensei. you can check out his multi-step video right here!

oh, and if you don't have enough reasons to start making these immediately here's another one: they are totally customizable. i made a bunch of cinnamon raisin by sticking ten or so raisins and a splash of cinnamon in the dough before rolling them into circles. the only tip i have is that if you're going to do anything that involves toppings (e.g., poppy seed), wait until they have been boiled, drained and then brushed with a little egg white. this will help things stick while they're baking.


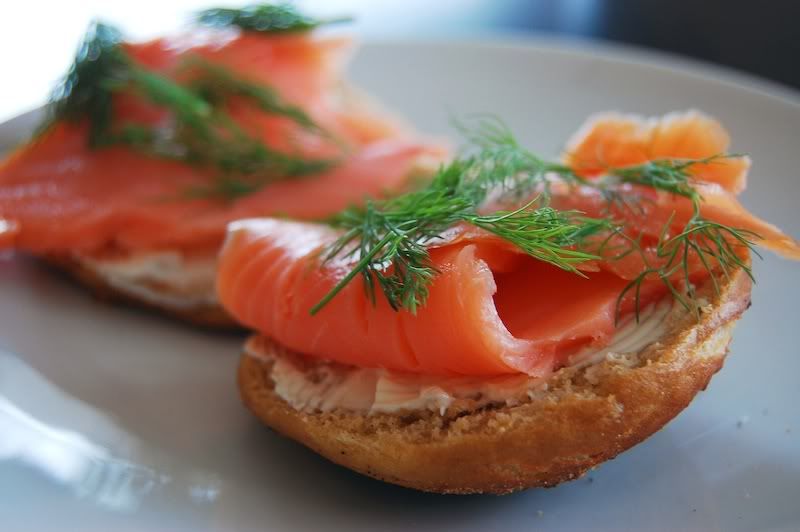
i dragged my other half out of bed this morning and he made himself an everything bagel, which then became this gorgeous lox sandwich. i'm a cinnamon raisin & cream cheese gal myself. you do with your carbs what's right for you.

whole wheat bagels

yields 13 bagels
adapted from beantown baker

pre-dough one:

8 ounces whole wheat flour
¼ teaspoon instant yeast
6 ounces (¾ cup) water

pre-dough two:

2 tablespoons molasses
5 ounces water
8 ounces whole wheat flour
½ teaspoon salt

final dough:

pre-doughs one & two
1 tablespoon water
2 teaspoons yeast
¾ teaspoon salt
7-9 tablespoons flour, plus more if necessary
1 tablespoon baking soda (for boiling)

1. in the bowl of a stand mixer fitted with the dough hook, mix all of the ingredients in pre-dough one on medium-low speed until combined and set aside for five minutes.

2. meanwhile, in a 1-cup measuring cup, stir together the molasses and the five ounces of water in pre-dough two. set aside but stirring occasionally, until the molasses dissolves into the water.

3. return to pre-dough one and knead on low speed for one minute. transfer to a small bowl and cover with plastic wrap or a damp kitchen towel and refrigerate overnight.

4. add the flour and salt for pre-dough two to the empty mixer bowl and with the mixer on low speed, pour in the water/syrup mixture. mix on medium-low just until combined. cover the mixer bowl with plastic wrap or a damp kitchen towel and set aside at room temperature for at least eight hours or overnight.

5. the next day, transfer the refrigerated pre-dough one to room temperature for a couple hours to warm up.

6. when you’re ready to make the final dough, stir together the one tablespoon water and the yeast. In the bowl of a stand mixer fitted with the dough hook, mix both pre-doughs, the water and yeast, and the salt on low speed until combined. while the mixer is running, add in the flour, one tablespoon at a time, until it’s fully absorbed by the dough. then, knead on low speed for 5-6 minutes, adding more flour or water if necessary to form a smooth, firm dough - it shouldn't be sticky.

7. let the dough rise at room temperature until it increases to about 1½ times its original size, about one to two hours.

8. divide the dough into 8-12 pieces, mine came out to around 65g each. shape each piece into a smooth ball, then roll each piece into a rope about ¾-inch thick. bring the ends of the rope together and gently roll them on a flat surface to seal. let the dough rest for about twenty minutes.

9. preheat the oven to 500 degrees and line a baking sheet with parchment paper or a silicone mat. bring at least three inches of water to a boil in a large pot over high heat. add 1 tablespoon baking soda and reduce the heat to medium. gently drop 2-4 bagels (as many as will fit without crowding) into the water, boiling for one minute on each side. place the boiled bagels on a wire cooling rack to drip-dry slightly, about three to four minutes.

10.  place bagels on lined baking sheet and transfer the sheet to the oven, reduce the oven temperature to 450 degrees, and bake until the bagels are browned and feel hard, about 13 minutes for small bagels. (note: the bagels will soften as they cool.)

11. cool bagels on wire rack for 15-20 minutes before enjoying!


nutritional information:


calories: 144, fat: 0.5g, sodium: 226g, carbs; 31g, fiber: 4.5g, sugars: 2g, protein: 5.5g.

thank you for reading & happy baking!

amanda

ps: i know this recipe is long & a bit complicated, so if you have any questions please don't hesitate to ask!
Thursday, January 27, 2011

fleur de sel caramel brownies


have you ever experienced the combination of chocolate and salt? i'm really hoping you have, because if you haven't i'm going to have to pack up my car with a whole lot of it and go on a major road trip. seriously folks, it's phenomenal. the salt, however weird this may sound, completely enhances the depth of the chocolate and takes it to a whole other level. okay, i'm done raving!


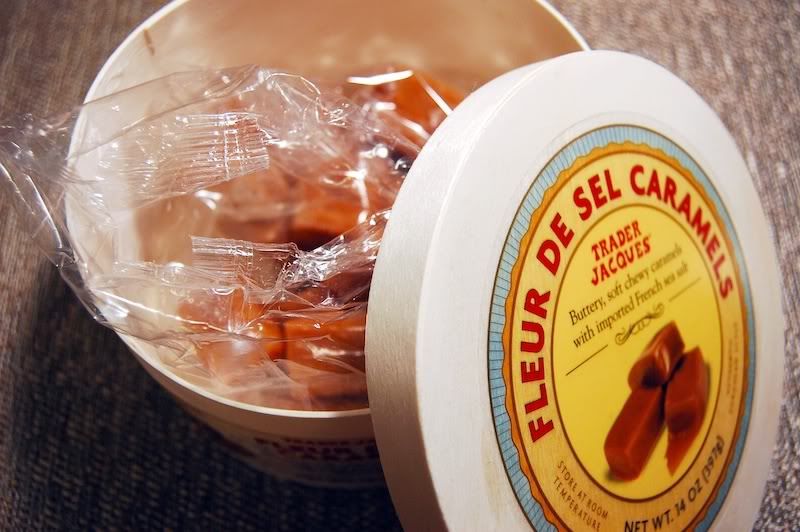
these brownies came together when i found some trader joe's fleur de sel caramels laying around my house and decided to adapt a brownie recipe i had saved. if you don't have caramels, don't worry. you can substitute a quarter cup of anything your heart desires - chopped walnuts, toffee, or chocolate chips would all be delicious.


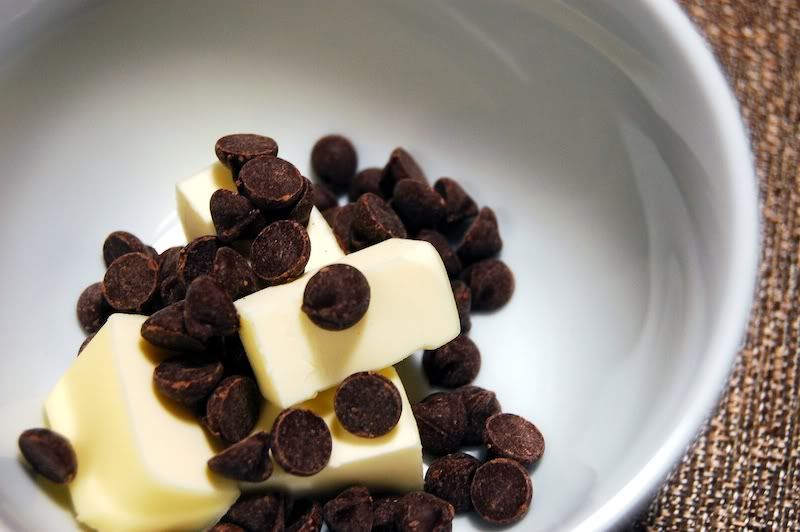
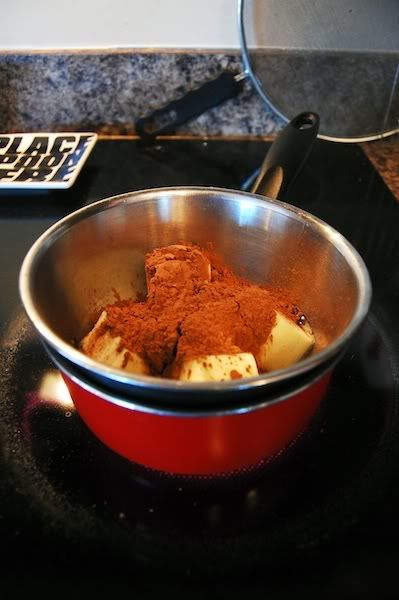
whenever i take the double-boiler-shortcut and use the microwave i use the defrost setting so that the heat isn't as aggressive.


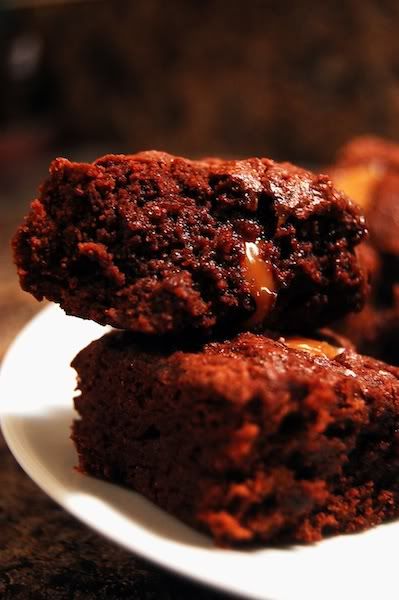
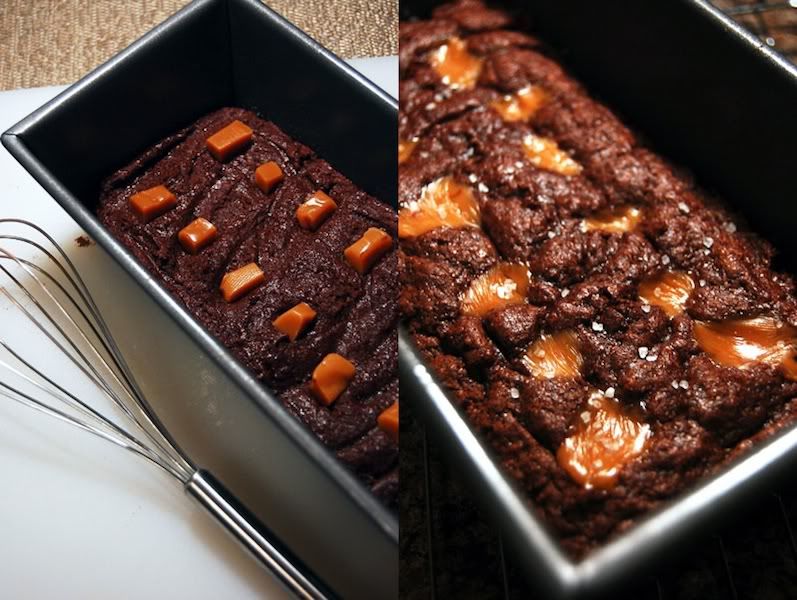
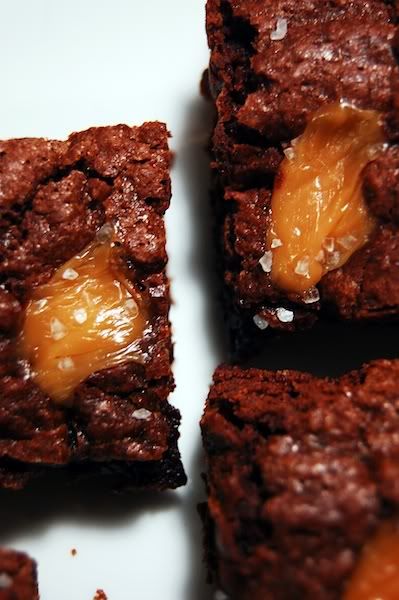
the dough was thicker than i expected and it took a little working to get it spread out, but trust me - it was worth it. i cut the caramels into quarters and gently pressed them into the top of the dough. once it baked, i sprinkled the top with sea salt for that extra punch.

side note: when i bake i generally halve the batch because i hate to have too many tempting leftovers around the house, hence the loaf pan instead of the 9x9 the recipe calls for!


i ended up yielding eight pretty sizable brownies, around an inch and a half by and inch and a half. they are so decadent that i can barely make it through one, which is saying a lot given how much i love this combo!

fleur de sel caramel brownies

yields 20 servings
adapted from cooking light

preheat oven to 350°

2 tablespoons instant coffee granules
1/4 cup hot water
1/4 cup butter
1/4 cup semisweet chocolate chips
1 1/2 cups all-purpose flour
1 1/3 cups sugar
1/2 cup unsweetened cocoa
1 teaspoon baking powder
1/2 teaspoon salt
1 teaspoon vanilla extract
2 large eggs
1/4 cup worth of caramel pieces

1. coat the bottom of a 9x9 baking pan with cooking spray.

2. combine coffee granules and 1/4 cup of hot water, stir until the granules dissolve.

3. combine butter and chocolate chips in a small heatproof bowl on the defrost setting until the butter melts, stir until the chocolate is smooth.

4. combine flour, sugar, cocoa, baking powder, and salt in a large bowl, stirring with a whisk.

5. combine coffee mixture, butter/chocolate mixture, vanilla, and eggs until combined.

6. add wet mixture to dry until just combined and spread evenly into prepared pan, then place caramel quarters on top.

7. bake for 22-25 minutes until the middle is set. let cool in pan until warm and then turn out and complete cooling on a wire rack.

nutritional information:


calories: 182, fat: 4g, cholesterol: 27mg, sodium: 90mg, carbs: 24g, fiber: 1.1g, sugars: 15g, protein: 2.14g. 


thanks for reading & happy baking!

amanda

Monday, January 24, 2011

not baked: black bean soup

i don't know about everyone else, but here in michigan it is freezing and this treacherous mixture of wet snow and sticky ice won't stop falling from the sky. the only reasonable answer to "what's for dinner?" is therefore "soup," especially because black beans are my mom's favorite and make me feel extra home-y. plus, they're high in protein & fiber, which my diet is constantly lacking - it's win, win!

for your time, here's a fun fact about me: i am a picky eater, as you may know by now, and have major issues with texture. you can go ahead and roll your eyes now, i know it's weird. i cannot stand the texture of beans, along with several other foods, but actually do like the taste. the solution to this problem? my immersion blender. it takes those weird mushy capsules and turns them into a gorgeous puree.

ps: i promise not to make posting an every day thing, but now that i've gotten back on the photography horse i can't stop taking photos. this is a good thing for me, but could turn into an annoying thing for you out there in internet-land. i'm sure i'll slow down soon!

Sunday, January 23, 2011

dark chocolate cupcakes with peanut butter frosting!


my name is amanda and i purposefully hide candy from myself. yup, that's right, at any given time there are probably two or three different kinds of candy stashed out of sight with the idea that, if i really want it, i'll find it. if i'm eating because i'm bored or anxious i'll grab an apple or hummus or whatever is at the front of my fridge, because i'm actually quite lazy.

i know, this plans seems pretty genius. you don't have to tell me twice. the only problem is that i have perfected my technique so much that i sometimes forget there's even candy there. i found myself in this very situation yesterday, when while cleaning out the pantry i found a target bag full of fun size reese's. cups, pieces, and fastbreaks - the peanut-buttery trifecta!

faced with this dilemma i immediately went to my saved recipes and found something that would give me an excuse to use up all these treats and force them on my co-workers tomorrow. the solution? dark chocolate cupcakes, stuffed with reese's cups, topped with peanut butter frosting.


the stash i found. i cannot believe this was just hanging out in my pantry!  i should have been binging on them long ago!


to melt the combination of chocolate, cocoa, and butter, the recipe calls for a double-boiler. i made my own hodge-podge version out of a heatproof bowl over a small saucepan, but you can also do this in the microwave to save time. if you're taking this route though, i would recommend using the defrost setting - it will be more gentle on your chocolate!


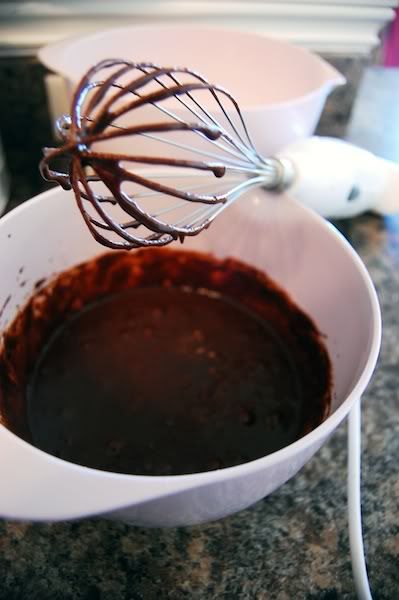
i used the whisk attachment for my immersion blender. i love using this kitchen gadget when i don't feel like breaking out the big stand mixer. note: i am a big gadget nerd.
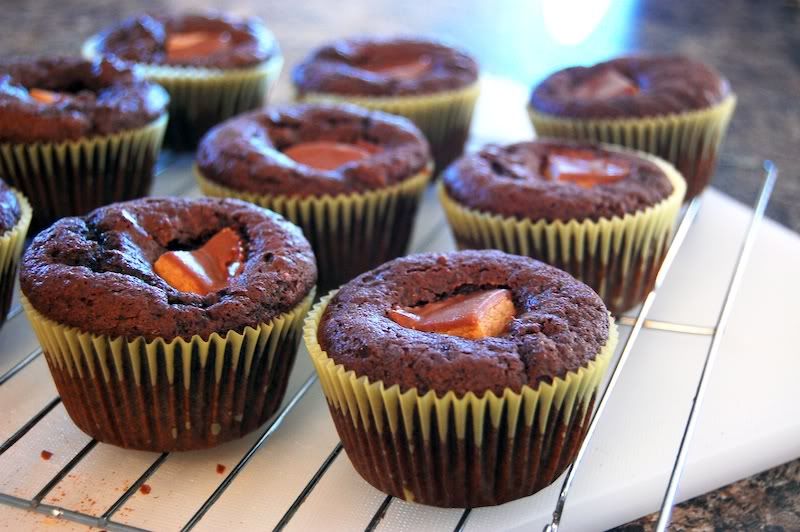
i stuck peanut butter cup quarters into the center of each cupcake while i was rotating the pan mid-bake for a secret surprise! this step is obviously optional, but highly suggested.


i had left over batter - shocking - so i made half a dozen mini-cupcakes and decorated them with reese's pieces for extra adorability. seriously, how cute are they?


dark chocolate cupcakes

yields 15 regular sized cupcakes, or 1 dozen + 6 minis!
adapted from cooks illustrated

preheat over to 350 degrees fahrenheit

8 tablespoons unsalted butter at room temperature, cut into 4 pieces
2 ounces bittersweet chocolate chips
1/2 cup dutch-processed cocoa powder
3/4 cup all-purpose flour
1/2 teaspoon baking soda
3/4 teaspoon baking powder
2 eggs
3/4 cup granulated sugar
1 teaspoon vanilla extract
1/2 teaspoon table salt
1/2 cup sour cream (i used a light version & it was perfect!)

1. place butter, chocolate, and cocoa in a heat-proof bowl. set bowl over saucepan with two inches of simmering water. gently stir butter and chocolate until melted and combined. set aside until mixture is warm. this step can be substituted for microwave.

2. in a small bowl, whisk flour, baking soda, and baking powder together.

3. in a large bowl, whisk eggs together until combined. add sugar, vanilla, and salt until fully incorporated. add cooled chocolate mixture and whisk together. sift one-third of flour mixture over chocolate mixture and whisk until combined. stir in sour cream until combined, and then sift remaining flour mixture over and stir until batter is thick.

4. fill cupcake liners two-thirds full and bake until knife or cake tester in center of cupcake comes out with a few crumbs - about 18 minutes. if adding to batter, place in center of cupcake half-way through baking. if making mini-cupcakes, only bake for 7-8 minutes.

peanut butter frosting
  
note on frosting: i tend to frost on the conservative side. i think a lot of people go nuts with frosting because it is so delicious, but there is something to be said about too much of a good thing. plus, i don't want the cake portion of the show to be ignored or overpowered! that being said, i had a bunch of extra frosting left over, probably enough to frost two to four more cupcakes. just a heads up!
 
1 cup confectioners’ sugar, sifted
3/4 cup creamy peanut butter
5 tablespoons unsalted butter, at room temperature
¾ teaspoon vanilla extract
¼ teaspoon kosher salt
3-4 tablespoons heavy cream or half & half

1. place butter and sugar in bowl of stand mixer and beat with paddle attachment until combined and creamy.

2. add vanilla extract, salt, and peanut butter, and combine.

3. add heavy cream one tablespoon at a time until frosting reaches desired consistency.

nutritional information:

for cupcakes: calories: 172, fat: 9.14g, cholesterol: 51mg, sodium: 171mg, carbs: 21g, fiber: 1.4g, sugars: 10.89g, protein: 2.72g. 

for frosting: calories: 119, fat: 8.62g, cholesterol: 10mg, sodium: 36mg, carbs: 7.85g, fiber: .64g, sugars: 6.5g, protein: 2.8g.

so, the whole cupcake comes out to about 300 calories! mini-versions are 1/3 of that, so only 100!


thanks for reading & happy baking!

amanda

Saturday, January 22, 2011

bran flax morning muffins

i had been curious about flax seeds for a while, mostly because you can hide them in almost every baked good to give them some fiber & omega 3, but was always a little intimidated by something that seemed so, well, healthy.

i decided to splurge today and picked up some bob's red mill flaxseed meal from trader joe's for a few bucks. i spied a recipe on the side of the bag while stashing it in my fridge and decided to try it as a good pre-workout snack or quick morning breakfast fix.

yup, i'm starting this blog off on an unexpectedly nutritious foot, but these little muffins are easy & completely customizable.


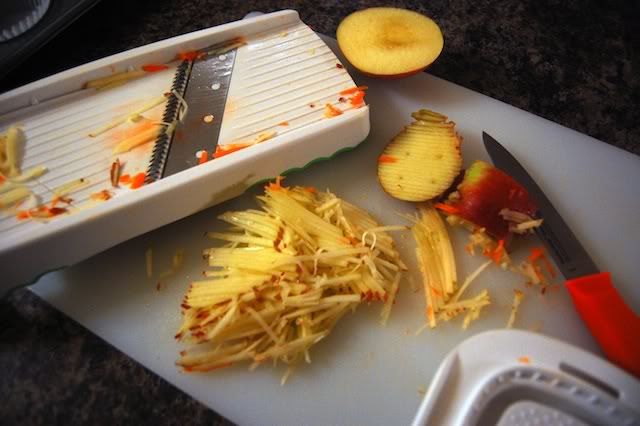
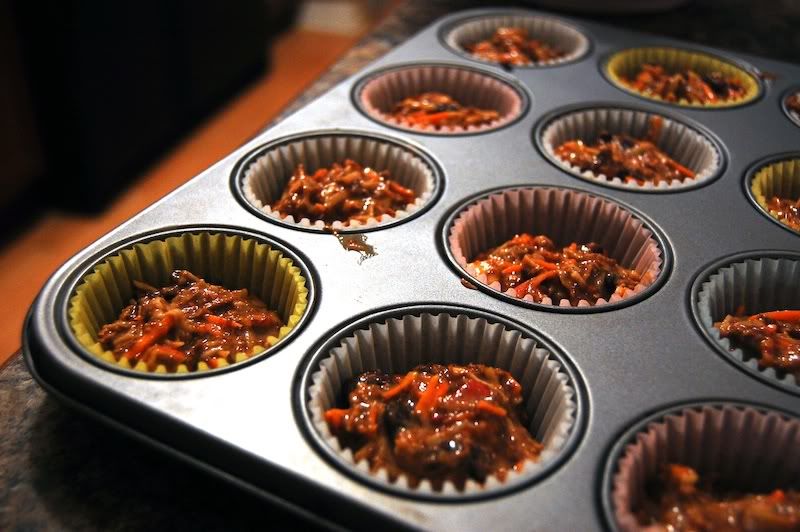
i was thrilled to be able to break out my mandolin, which is basically just a fancy food slicer, to make even apple & carrot matchsticks for these babies. don't have a mandolin? just chop up your ingredients as thin or as coarsely as you like! make it your own!


i ended up editing the original recipe by adding and upping the spices, as well as using cake flour to make sure the muffins were nice and soft.


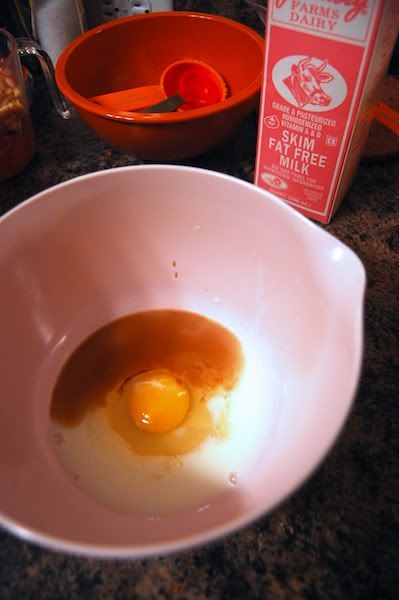
the wet ingredients were super simple, and i got to use the vanilla i brought back from mexico!


i halved the recipe and got a full dozen - three more than the recipe yielded! having leftovers is a serious theme in my baking life. 


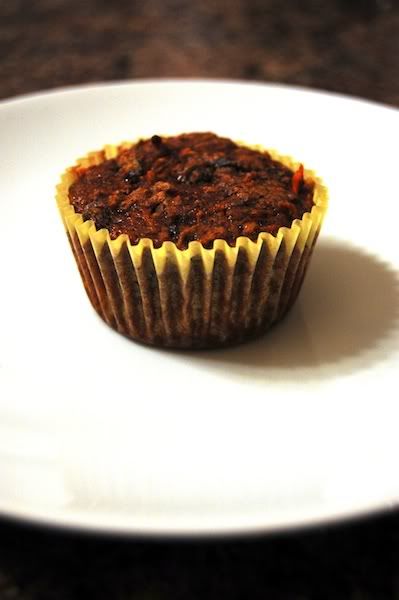
i know they look healthy, but they taste so great! the next time i make these bad boys i might add some chopped walnuts on top for some crunch. either way, good & good for you! also, i have a feeling that these might be easily adaptable into a vegan recipe (almond/soy milk instead of skim & veggie oil/banana for egg?), a food genre i'm more and more interested in.


bran flax morning muffins

yields 24 muffins
adapted from bob's red mill bran flax muffins

1 1/2 cups whole wheat cake flour
3/4 cups flaxseed meal
2/4 cup oat bran cereal 
1 cup light brown sugar
2 tsp baking soda
1 tsp baking powder
1/2 tsp salt
2 tsp cinnamon
1 tsp ginger
1 tsp allspice
1 tsp nutmeg
1 1/2 cups finely shredded carrots
2 shredded apples
1/2 cup raisins
1 cup chopped nuts (optional)
3/4 cups milk
2 beaten eggs
1 tsp vanilla

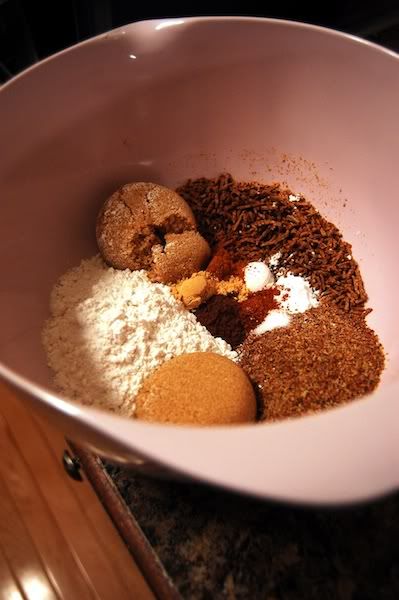
mix together flaxseed meal, oat bran, brown sugar, baking soda, baking powder, salt, and spices in a large bowl. stir in carrots, apples, raisins, and nuts (if desired). combine milk, beaten eggs, and vanilla in small bowl. pour liquid ingredients into dry ingredients and stir until ingredients are moistened. note: do not over mix, this will cause tough muffins.

fill muffin cups 3/4 full and bake at 350 degrees f for 15-20 minutes. i did seventeen & they were nice and moist!

nutritional information:

calories per serving: 113, total fat: 2.66g, cholesterol: 18mg, sodium: 300mg, carbs: 21g, fiber: 2.73g, sugars: 13g, protein: 3g.


you've got to start somewhere...

last year i lost seventy pounds.

yup, seven-oh. it was hard, but easier than everyone makes it out to be. there really isn't any get-thin-quick secret, just getting your heart pumping and watching what you put in your body.

i was, what you could call, a picky eater. i come from a cuban family where vegetables were not the top priority. i also grew up in a tropical climate where being outside and standing was enough to get you sweating, so the thought of going out and "running around the block" was totally insane in my young mind.

when i started to evaluate my health i realized i needed to completely renegotiate my relationship with food. in the past year i've learned that food, to me, can fall into three categories:

one: food that is generally considered "healthy," but that doesn't taste all that great and therefore i have to force myself to eat. and then gets pushed to the back of the pantry/fridge/cabinet until i forget it and it gets old and i get to throw it out.

two: food that is also widely considered healthy, but that actually tastes great, and that i happily eat because i know that it is good for my taste buds and for my body.

three: food that is not good for me, but that i would sacrifice appendages/children/small animals/etc. to eat again because it is just that good. this is a tricky category because of how often i, and maybe you, eat things that are just okay but that have a ton of calories. for example, eating that fake-chocolate that comes in off-brand novelty holiday containers versus having a godiva truffle. it's learning what's worth it - and really enjoying it when you have it - that's the tough part.

so, all that being said, i absolutely love to bake. the problem? and yes, you might already be there, baking is not good for me. cookies and cakes and frosting and chocolate are, generally, the enemy when it comes to being healthy.

i know there are a million baking blogs out there, which contributed to part of why i am hesitant to start another one, but what sets my baking hobby apart is that when i whip up stuff in the kitchen i carefully balance between the aforementioned food categories two & three. i make hearty breakfast muffins and decadent molasses chocolate chip cookies. i calculate the nutrition of everything i bake, so i know what i'm getting myself into calorically, but i also don't skimp on the stuff i think is really worth it - and that's the key.

while everyone is fad-dieting this new year i will be baking & eating responsibly, and i hope you'll tag along for the ride.